Setting up an Android Testing environment using Genymotion

Introduction
In this blog, I am going to walk you through the steps for setting up an environment for android application testing. From setting up genymotion to ssl pinning bypass using frida, I got you covered. Let’s go!!
Step 1) Installing Genymotion
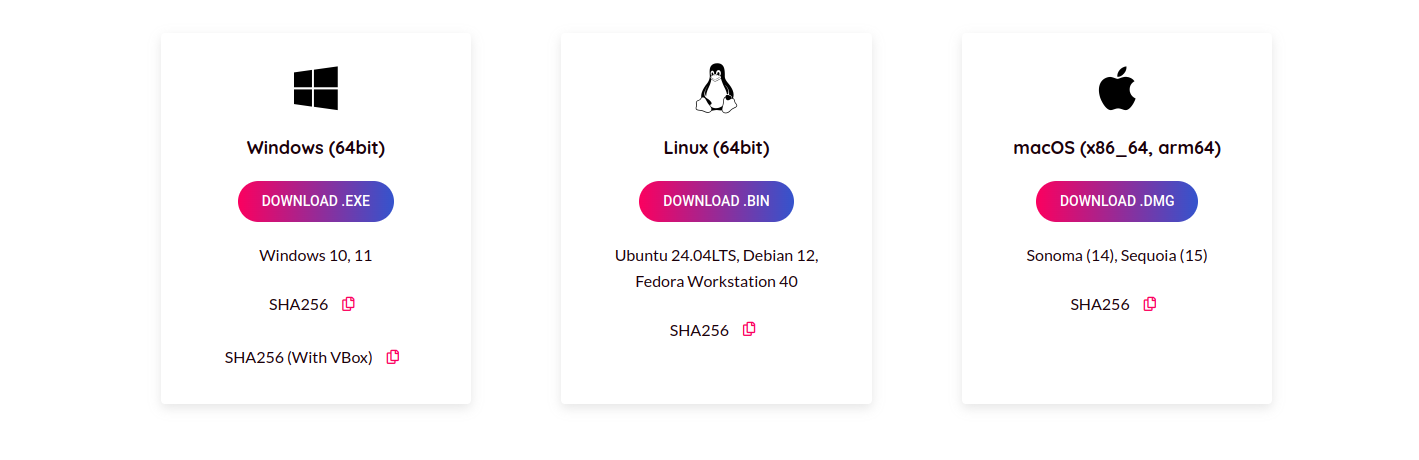
The first step is to install Genymotion. Install according your OS. (I use Linux btw..)
Step 2) Creating a virtual device
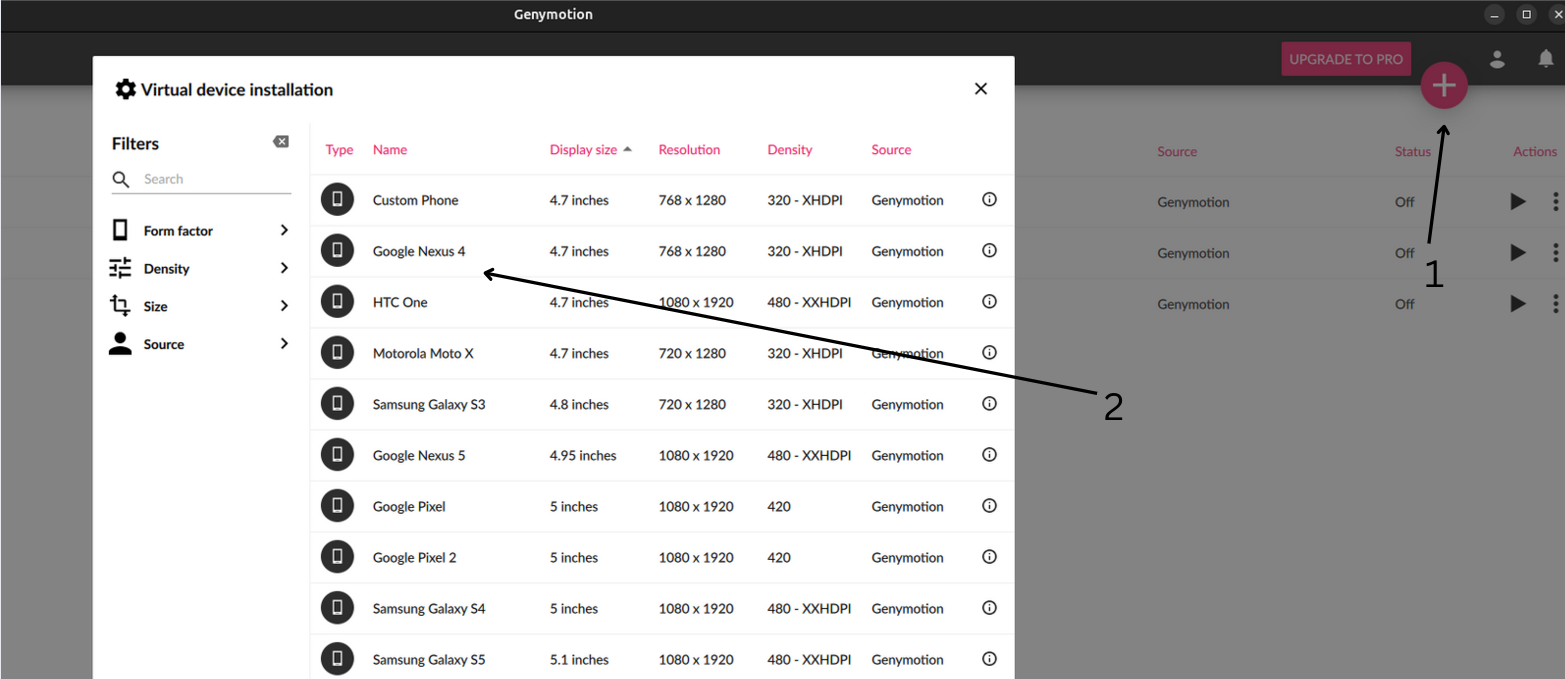
Now, after installing genymotion, we will create a virtual device. To create a virtual device, click on the plus icon on top right corner and select a device. Here, i will select Google Nexus 4.
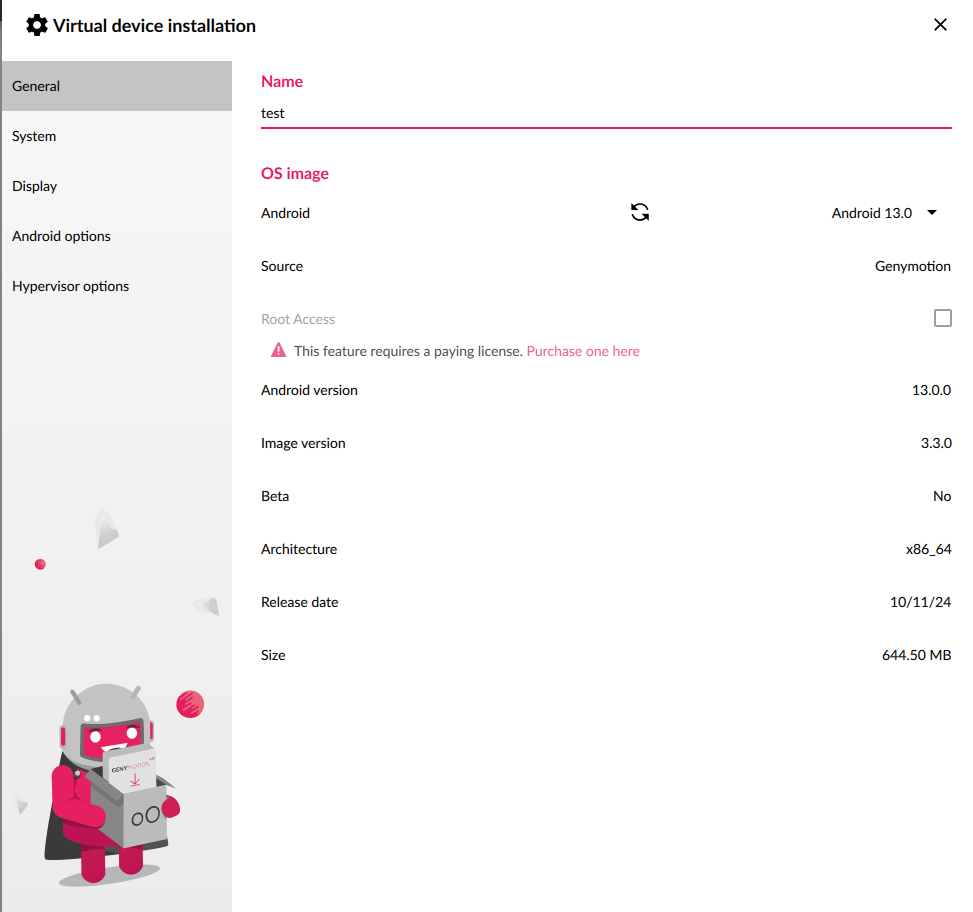
Select the options like Android Version, Hardware, Display as per your needs and create the virtual device.
Now, start the virtual device and install GApps.
Step 3) Setting up burpsuite and exporting certificates
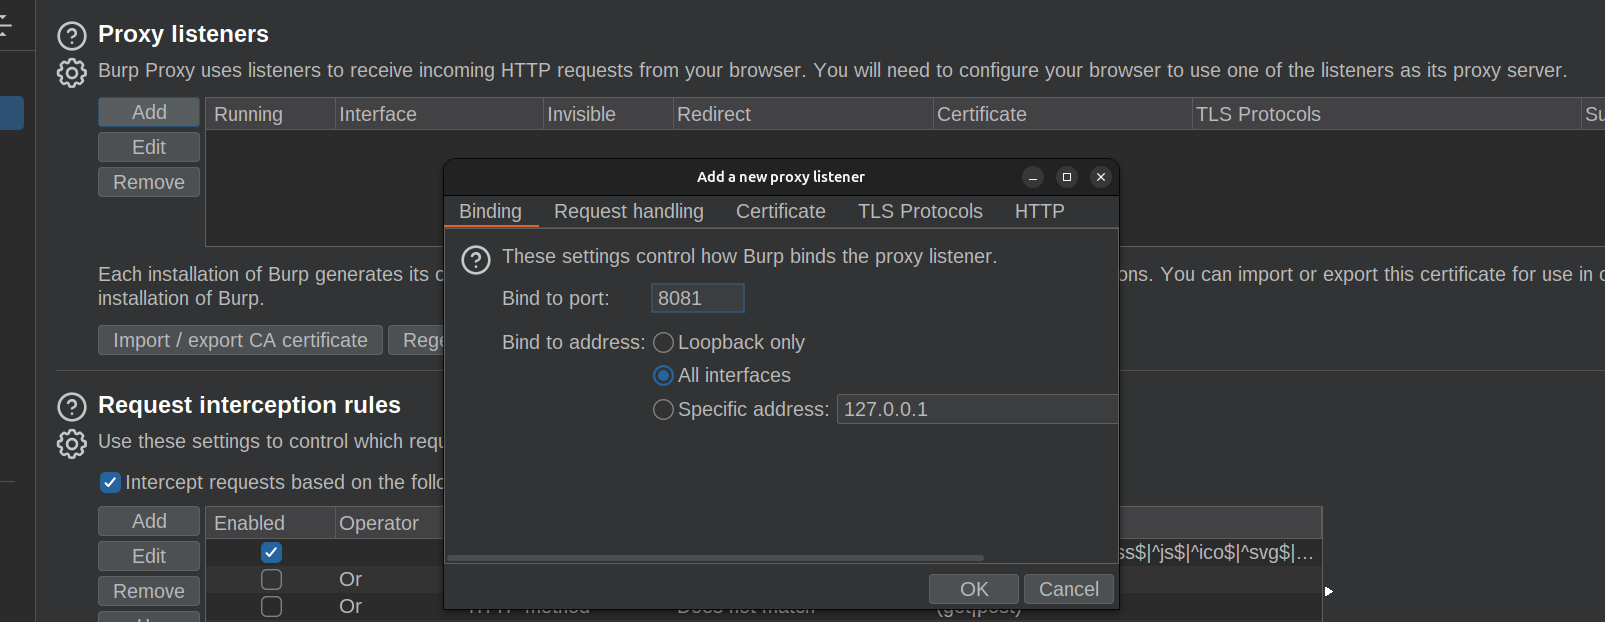
Open your burpsuite, click on proxy tab and set up according to the following image:
Now, click on Import/Export CA Certificate and select ‘Certificate in DER format’

export the certificate and rename it as burp.cer. Also save a copy of the certificate as cert-der.crt. We will use this cert-der.crt later on when bypassing ssl pinning using frida.
Now, drag and drop the burp.cer into the virtual device we just created. In your virtual device, go to settings and search for install certificates. Select Install Certificates option. Select your burp.cer and click ok. Now, the burp certificate is installed on our virtual device.
Now, run the following commands on your terminal: (make sure that you have adb installed)
1
adb shell settings put global http_proxy localhost:3333
1
adb reverse tcp:3333 tcp:8081
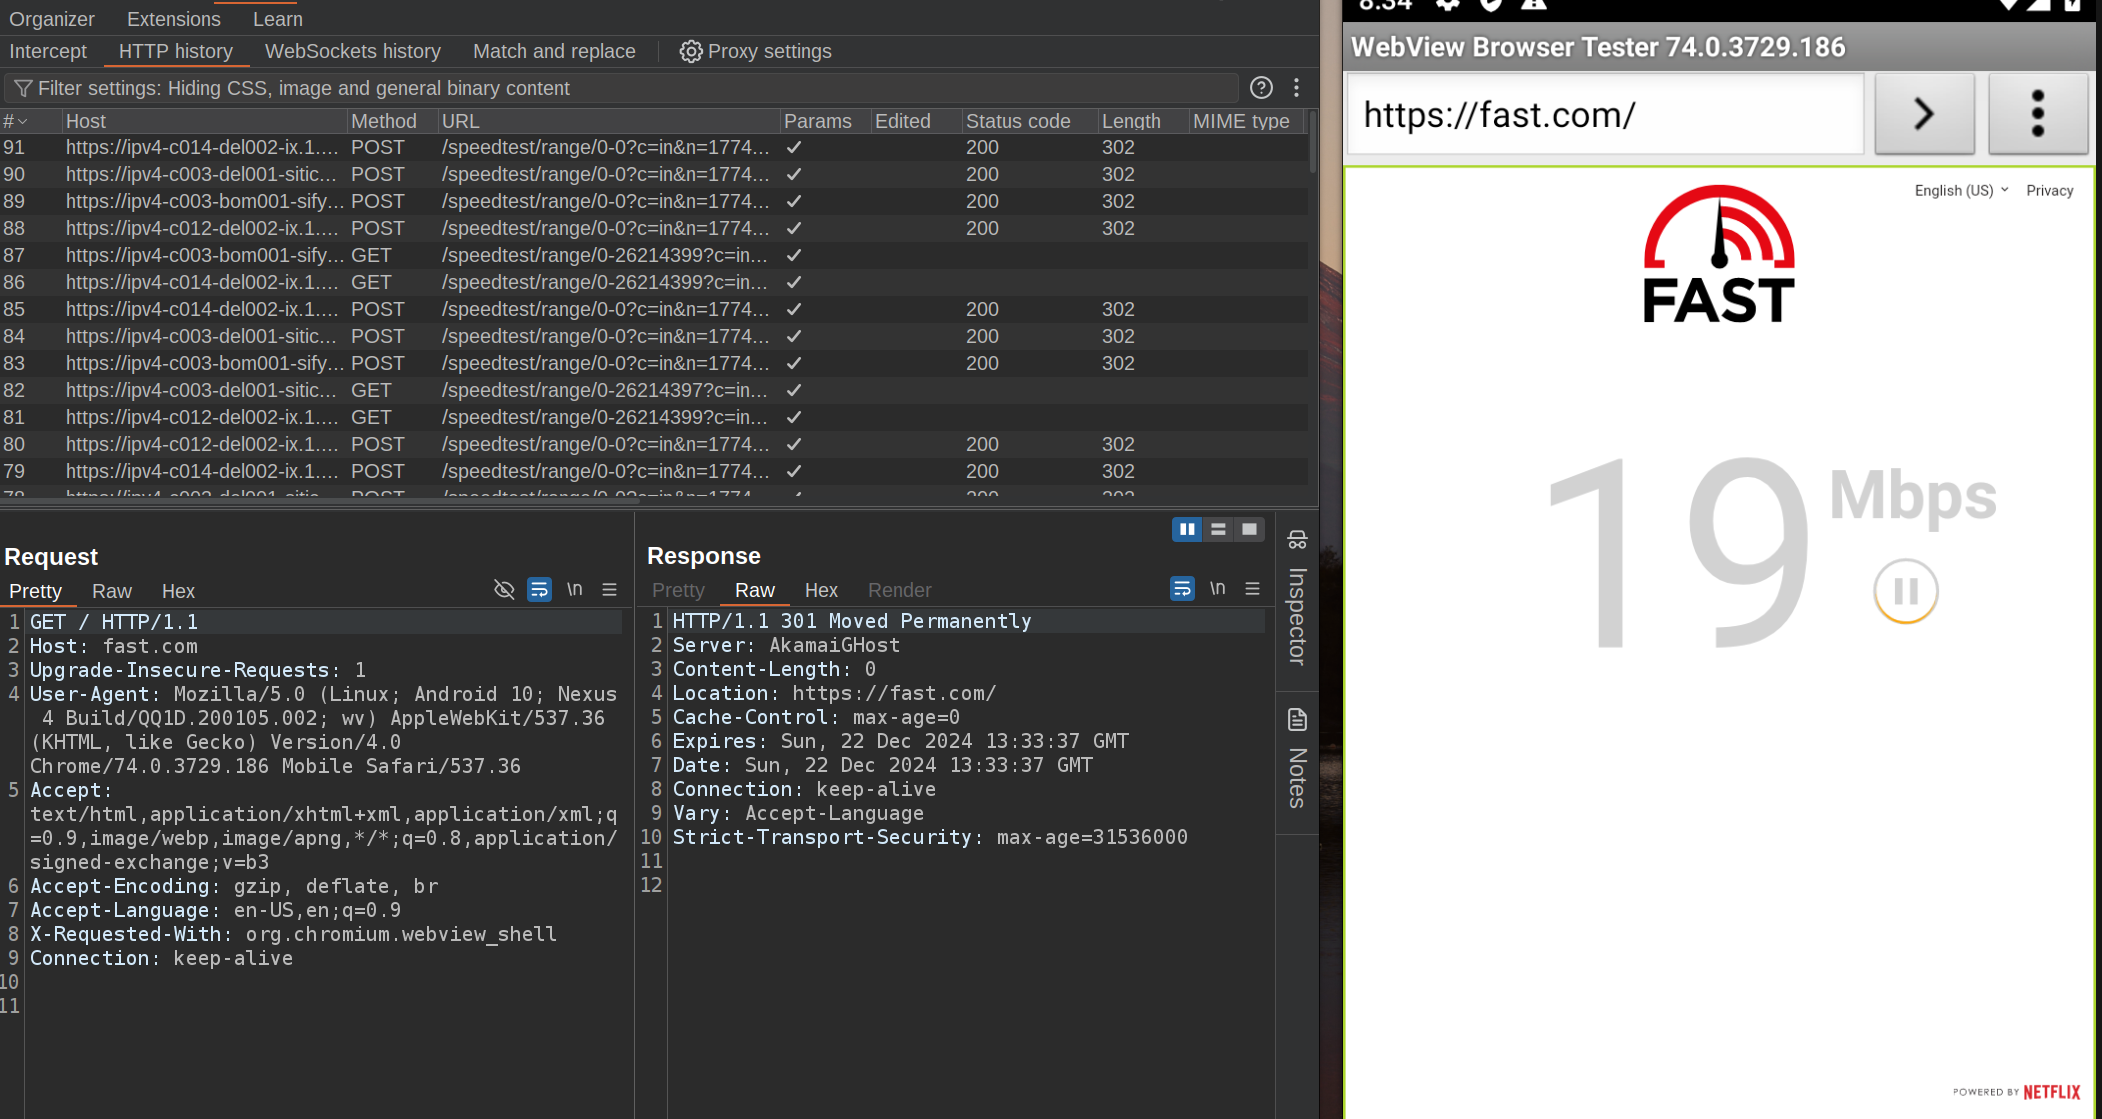
Now, you will be able to capture requests using burpsuite from your virtual device.
Step 4) Installing Frida on Virtual device and Host machine
Install frida on your host machine from this website: https://frida.re/docs/installation/
To download frida server for your virtual device, visit: https://github.com/frida/frida/releases. Make sure you select the right server according to your virtual device.
Here, I downloaded frida-server-16.5.9-android-x86.xz. Now, extract it using the following command:
1
xz -d frida-server-16.5.9-android-x86_64.xz
Now, give execute permissions to the frida binary using the following command:
1
chmod +x frida-server-16.5.9-android-x86
Now, we have to push frida binary to our virtual device using following command:
1
adb push frida-server-16.5.9-android-x86 /data/local/tmp
Let’s push our cert-der.crt too. It’s required for ssl pinning bypass using frida.
1
adb push cert-der.crt /data/local/tmp

So far, we have set up our virtual device, proxy and frida.
Step 5) Using Frida to bypass SSL Pinning
For using frida, we will need a SSL Pinning bypass script. Here, I am going to use this one: https://codeshare.frida.re/@pcipolloni/universal-android-ssl-pinning-bypass-with-frida/. Save this script as script.js
In your terminal run the following commands:
1
adb shell
1
cd /data/local/tmp
1
./frida-server-16.5.9-android-x86

Now, on your host machine, run the following command:
1
frida -U -f <package name> -l <path to script.js>
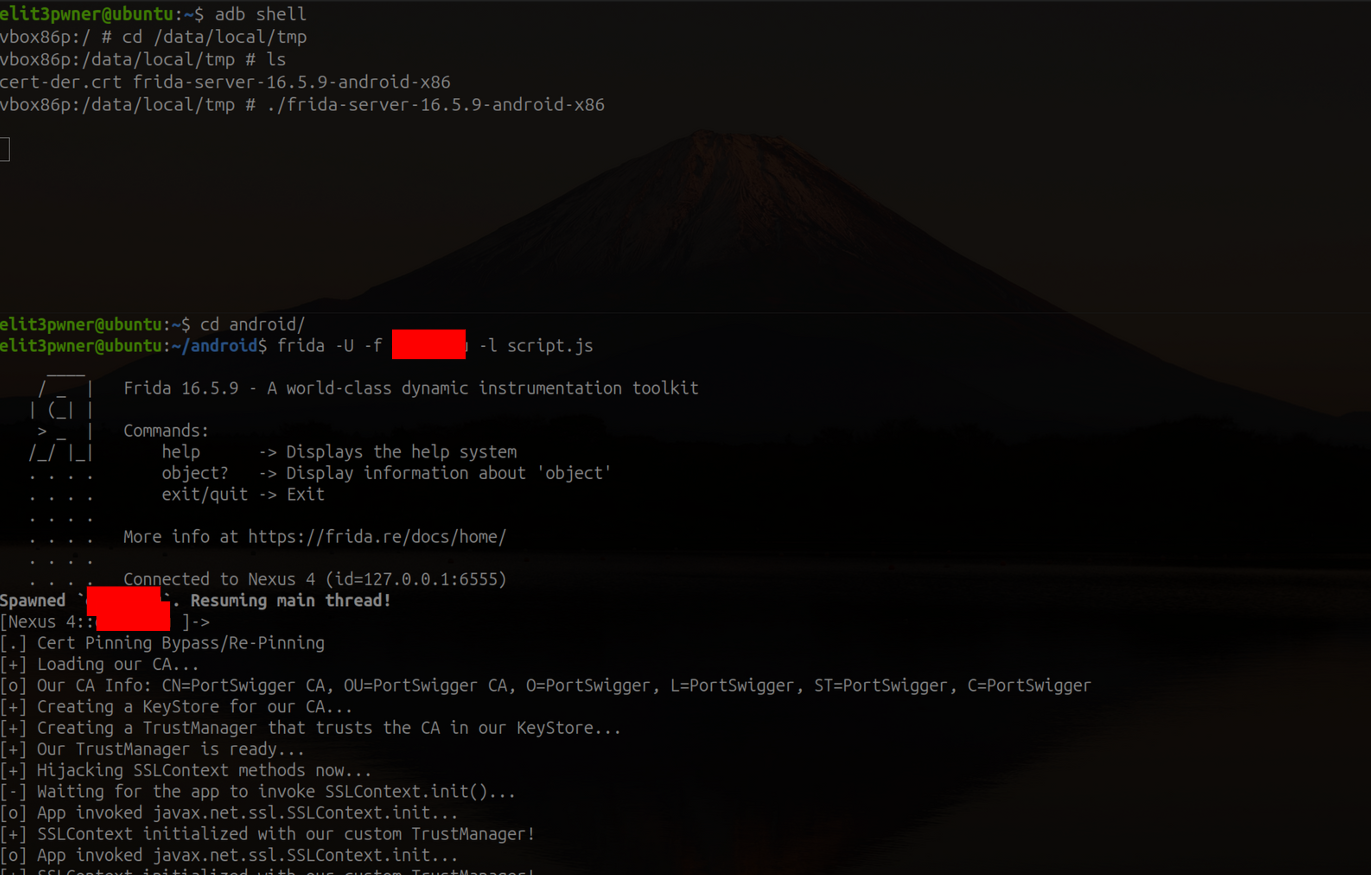
And yeahh, now we have our application working….